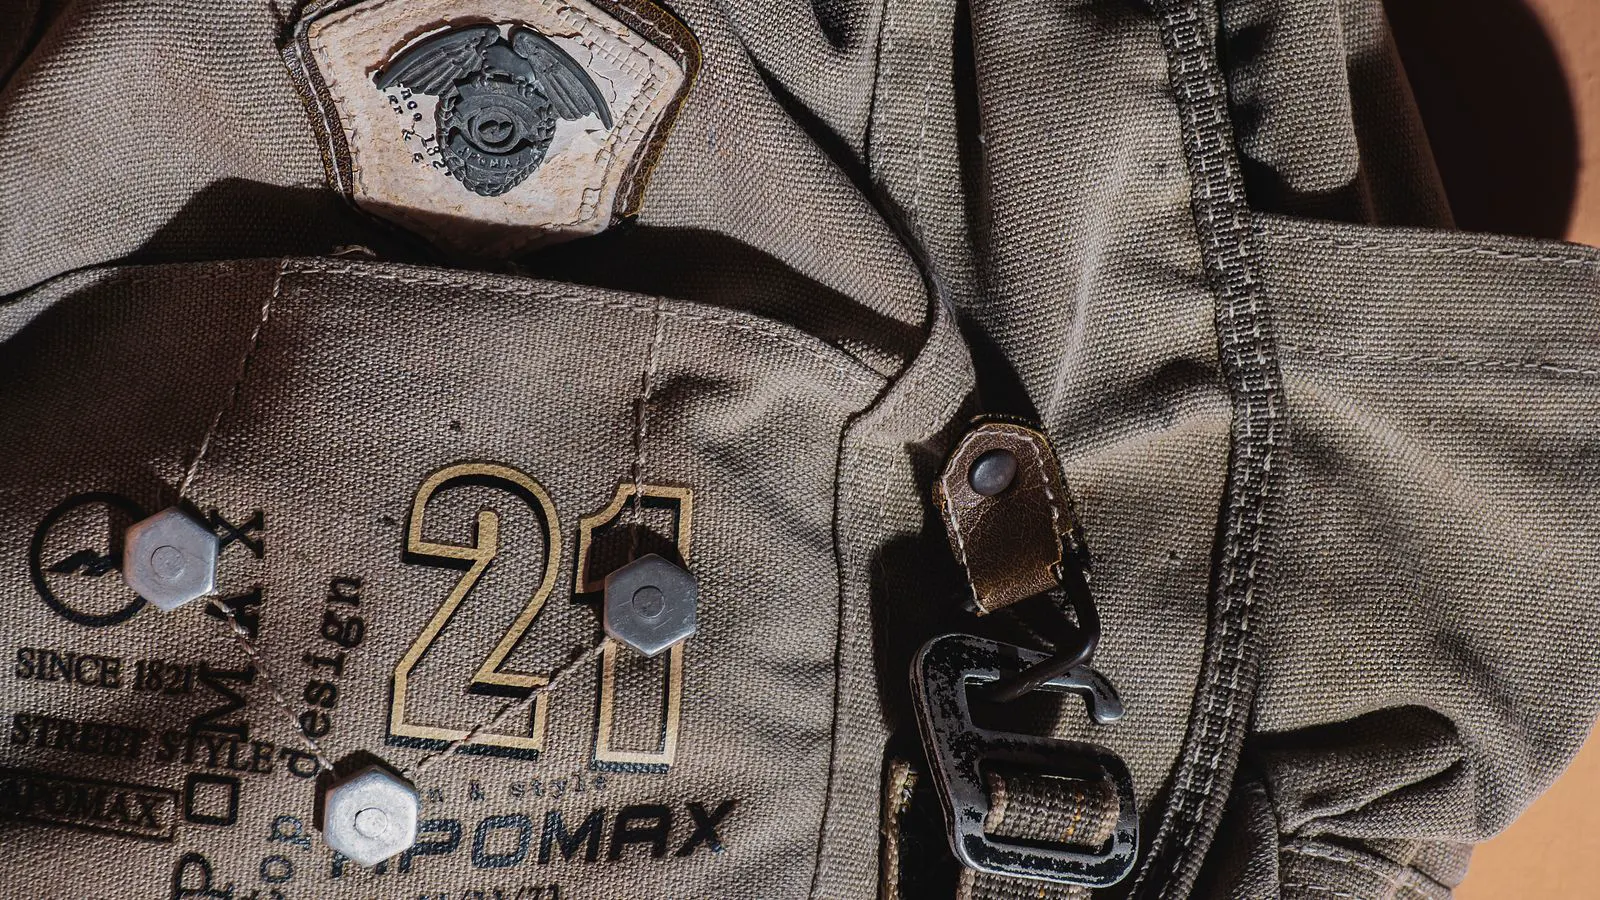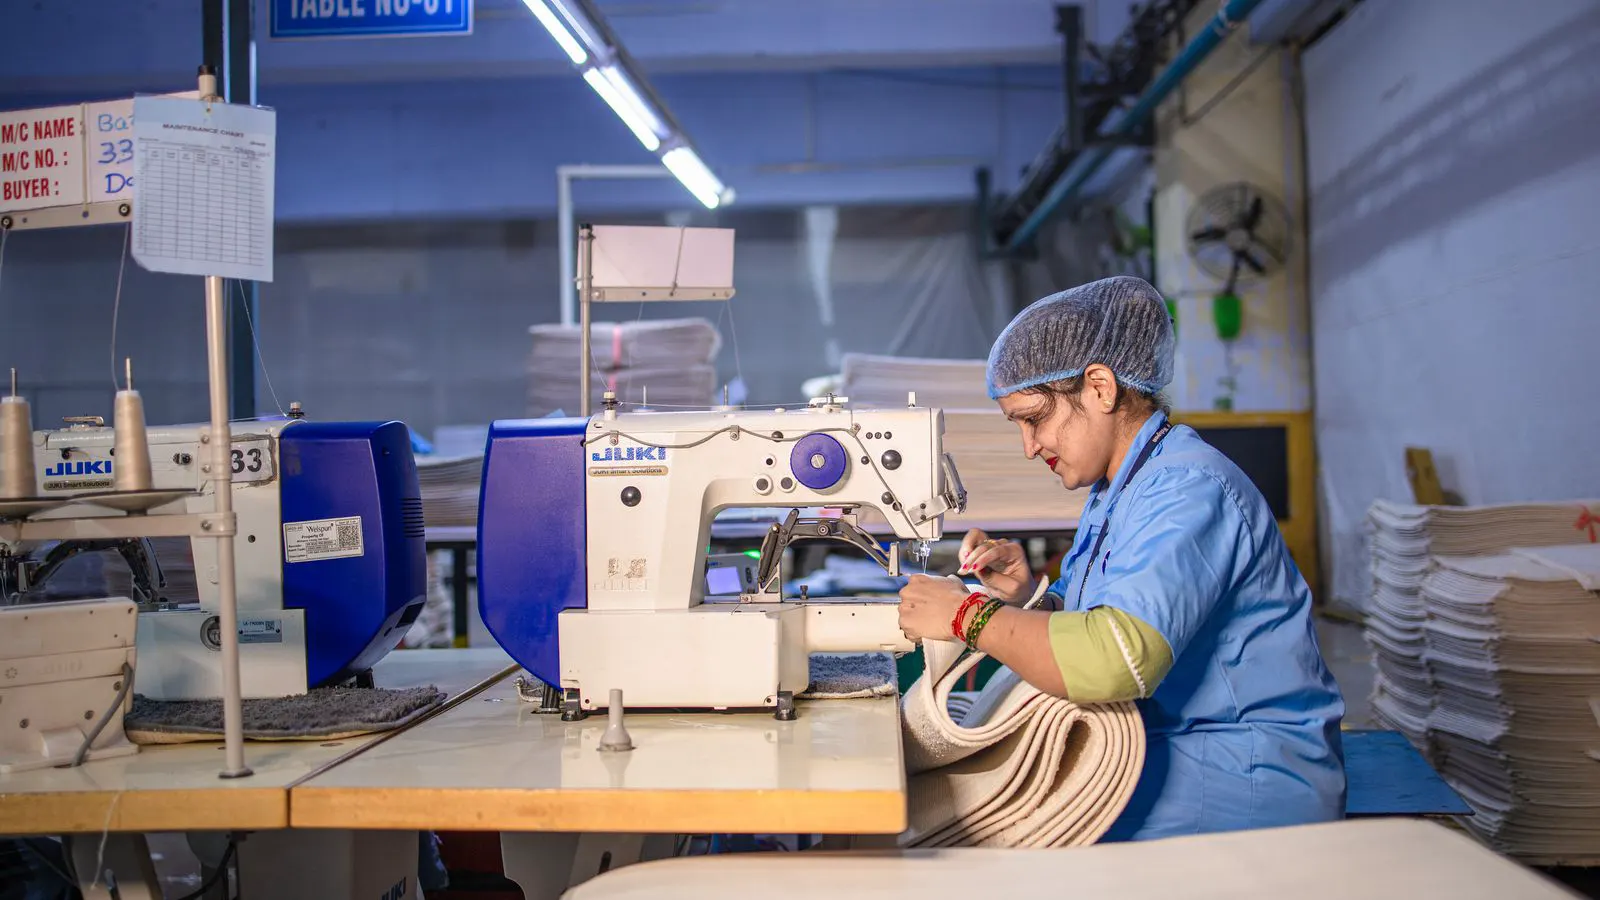
To verify stitching consistency, inspect multiple samples across batches, measure stitch length and tension, audit production records, and test for uniformity across different fabric layers and stress points.
- Stitching consistency requires checking samples across multiple production batches, not just single units.
- Measure stitch length, tension, and thread type to verify uniformity across materials and stress points.
- Factory verification involves reviewing production records, machine settings, and operator training logs.
- Quality control documentation must include batch-specific data and traceability for each production run.
- Common mistakes include relying on visual inspection alone and failing to test under load conditions.
Prerequisites: What to Prepare Before the Audit
Before you enter the factory floor, you need a clear framework for what uniformity means in your specific product. Stitching consistency is not just about straight lines. It covers stitch density, thread tension, seam allowance, and how the needle penetrates different fabric layers.
Prepare a written checklist based on your product specifications. If you are producing a backpack with reinforced straps, your checklist must differ from one for a soft-sided duffel bag. Include the exact thread count, needle size, and stitch length per centimeter. Bring a ruler, a magnifying glass, and a sample of the approved fabric. You will need these tools to test how the factory handles material variations.
Also request the production schedule. You need to know which batches are currently running and which are finished. Without this, you cannot cross-reference samples from different days or different operators. The goal is to prove that the machine and the operator produce the same result every time, regardless of who is at the wheel.
Step 1: Inspect Multiple Samples from Different Batches
Pull at least three finished units from three separate batches. Do not accept samples from the same day or the same shift. If the factory produces 100 units per day, ask for samples from Day 1, Day 5, and Day 10. This tests whether the factory maintains stability over time.
Examine the seams on each unit. Look at the main body seams, the gusset attachments, and the strap reinforcements. Check for skipped stitches, thread breaks, or uneven seam widths. If one batch has a 3mm seam allowance and another has a 3.5mm allowance, you have a consistency issue. Record the exact measurements. Do not rely on “it looks fine.”
The reason for this step is that factories often adjust settings mid-production to compensate for fabric shrinkage or thread lot changes. You need to see if those adjustments result in a measurable difference in the final product.
Step 2: Measure Stitch Length and Density
Use a ruler to measure the number of stitches per centimeter on a flat section of fabric. Most bag products require a specific range, often between 8 and 12 stitches per centimeter for general seams. For high-stress points like luggage handles, the density may be higher.
Measure the same section on at least five different samples. If the average is 10 stitches per centimeter, but one sample is 8 and another is 12, the factory is not maintaining uniform tension. Stitch length is controlled by the machine feed mechanism. If it varies, the feed dogs or the thread tension dial may need adjustment.
The reason for this step is that stitch density directly affects seam strength. A loose stitch may hold under light use but fail under load. A tight stitch may pull the fabric, causing puckering. You are checking for mechanical stability, not just appearance.
Step 3: Test Thread Tension and Penetration
Pick a seam and pull gently on the thread. If the thread is too loose, it will loop on the underside. If it is too tight, it may cut into the fabric or cause the needle to skip. Check the underside of the seam. The threads should be balanced, with no visible loops on either side.
Next, check thread penetration. On thick materials like canvas or leather, the needle must go all the way through. If you see the thread stopping halfway, the needle may be too short or the machine bed may be uneven. Pull the thread taut and inspect the hole. It should be clean, not torn.
The reason for this step is that tension issues often hide in thick or layered materials. A seam that looks fine on a thin lining may fail on a heavy outer shell. You are verifying that the machine handles the specific material stack you are using.
Step 4: Audit Production Records and Machine Settings
Request the machine setup sheets for the lines you inspected. These documents list the needle size, thread type, tension settings, and stitch length. Compare these settings to your approved specifications. If the factory uses a different thread count than requested, ask why.
Check the maintenance logs. Needles should be changed regularly, often every 8 to 12 hours of continuous use. If the log shows a needle was used for 40 hours, the stitch quality may suffer from a dull point. Dull needles create uneven holes and weak threads.
The reason for this step is that production records provide proof of process control. A factory can claim to maintain quality, but the logs tell you if they actually change needles and adjust tension as required. This is a key part of factory verification.
Step 5: Review Operator Training and Assignment Logs
Ask which operators ran the machines during the batch periods you sampled. If the same operator ran all three batches, the consistency may be due to individual skill rather than system stability. If different operators ran the batches, the consistency must come from standardized machine settings.
Check if operators are trained on your specific product. A general bag factory may have experienced sewers, but they may not know your specific reinforcement techniques. Ask to see the training records or the standard operating procedure (SOP) for your product.
The reason for this step is that human variation is a major factor in stitching consistency. If the factory relies on one “master” operator, you have a single point of failure. If the system is standardized, any qualified operator should produce the same result.
Step 6: Perform a Load Test on Sample Seams
Take one sample from each batch and subject it to a controlled load test. Hang a known weight from the strap or handle for 30 minutes. Then inspect the seam. If the thread has stretched, the fabric has pucker, or the seam has shifted, the stitching is not consistent enough for your product.
For luggage, test the zipper alignment under load. If the zipper pulls to one side when weighted, the stitching around the zipper tape is uneven. This connects to the issue of zipper misalignment in soft-sided luggage, which is often a stitching problem in disguise.
The reason for this step is that visual inspection does not reveal how the seam behaves under stress. A stitch may look perfect but fail when the bag is loaded. This test verifies functional consistency.
Step 7: Check for Batch Traceability
Ask how the factory tracks each batch. You need a system that links the raw material lot, the thread lot, the machine ID, and the operator ID to the final batch number. If the factory cannot tell you which thread was used on a specific batch, you have a traceability gap.
Request the batch certification. This document should include the date, the machine ID, the operator name, and the quality check results. If the document is missing or generic, the factory is not managing quality at the batch level.
The reason for this step is that traceability allows you to isolate problems. If a defect appears in the field, you need to know exactly which machine, operator, and material lot produced that unit. Without this, you cannot correct the root cause.
Common Mistakes to Avoid
| Mistake | Why It Fails | How to Fix It |
|---|---|---|
| Inspecting only one batch | Hides variation over time | Sample across multiple days and shifts |
| Relying on visual checks | Misses tension and density issues | Use a ruler and magnifying glass |
| Ignoring thread lot changes | Thread thickness varies by lot | Log thread lot numbers in production records |
| Skipping load tests | Seams may fail under stress | Apply known weight and inspect after 30 minutes |
| Accepting generic SOPs | Lacks product-specific detail | Require SOPs tailored to your exact product |
The most common mistake is assuming that a good sample equals a good batch. A factory can produce one perfect unit and then drift. Your verification process must cover the entire production run, not just the first or last unit.
Another mistake is ignoring the difference between stitch length and seam width. They are related but separate. A factory can have perfect stitch density but inconsistent seam allowance. You must measure both.
Final Verification Step: Issue a Conditional Approval
Do not give full approval until all seven steps are complete and documented. Issue a conditional approval that lists the specific metrics you verified. For example, “Stitch density verified at 10 stitches per centimeter across batches A, B, and C. Thread tension balanced on all stress points. Maintenance logs current.”
Require the factory to provide a pre-shipment inspection report that mirrors your audit. The report must include photographs of the seams, the measurements you requested, and the batch traceability code. This creates a paper trail that protects your brand.
The reason for this final step is that verbal approval is not verification. You need a written agreement that the factory will maintain these specific standards for the entire order. If they cannot meet the conditions, do not proceed.
How to Handle Inconsistent Results
If you find a discrepancy, do not accept a verbal promise. Request a corrective action plan. The factory must explain what failed, what they changed, and when they will re-test. Ask for a re-inspection of the next batch before you approve the rest of the shipment.
If the issue is a machine setting, the factory must adjust the feed mechanism or tension dial. If the issue is operator error, they must retrain the staff. If the issue is material, they must replace the fabric lot. Each root cause requires a specific fix.
The reason for this step is that stitching consistency is a system, not a one-time check. If you do not force the factory to document the fix, the problem will return in the next order.
When to Walk Away
If the factory cannot provide production records, refuses to allow a load test, or uses a single untrained operator for all batches, you have a red flag. You do not need to be a perfectionist, but you need a baseline of control. If the factory cannot show you how they maintain quality, they do not have it.
Sometimes the factory is simply not equipped for your product. If you are producing high-end luggage with complex reinforcements, a factory that specializes in simple pouches may not have the right machines or the right training. Match the factory capability to the product complexity.
The reason for this step is that factory verification is not just about finding defects. It is about ensuring the factory can sustain quality over time. If they cannot, you will spend more time on quality control than you save on production costs.
Frequently asked questions
How many batches should I sample to verify stitching consistency?
Sample at least three batches from different days or shifts. This tests whether the factory maintains stability over time and across different operators.
What tools do I need for a stitching consistency audit?
You need a ruler, a magnifying glass, a sample of the approved fabric, and a way to apply a known weight for load testing. These tools allow you to measure stitch density, tension, and functional strength.
How do I know if thread tension is balanced?
Check the underside of the seam. The threads should be interlocked without loops on either side. If you see loops, the tension is off. If the thread cuts into the fabric, the tension is too tight.
Can I trust a factory that only shows me the first batch?
No. The first batch is often the most controlled. You need to see later batches to verify that the factory can maintain quality over time. Ask for samples from the middle and end of the production run.
What is the most common cause of stitching inconsistency?
Worn needles and unadjusted machine settings are the most common causes. Dull needles create uneven holes, and inconsistent tension settings result in variable stitch density. Regular maintenance and standardized setups prevent this.