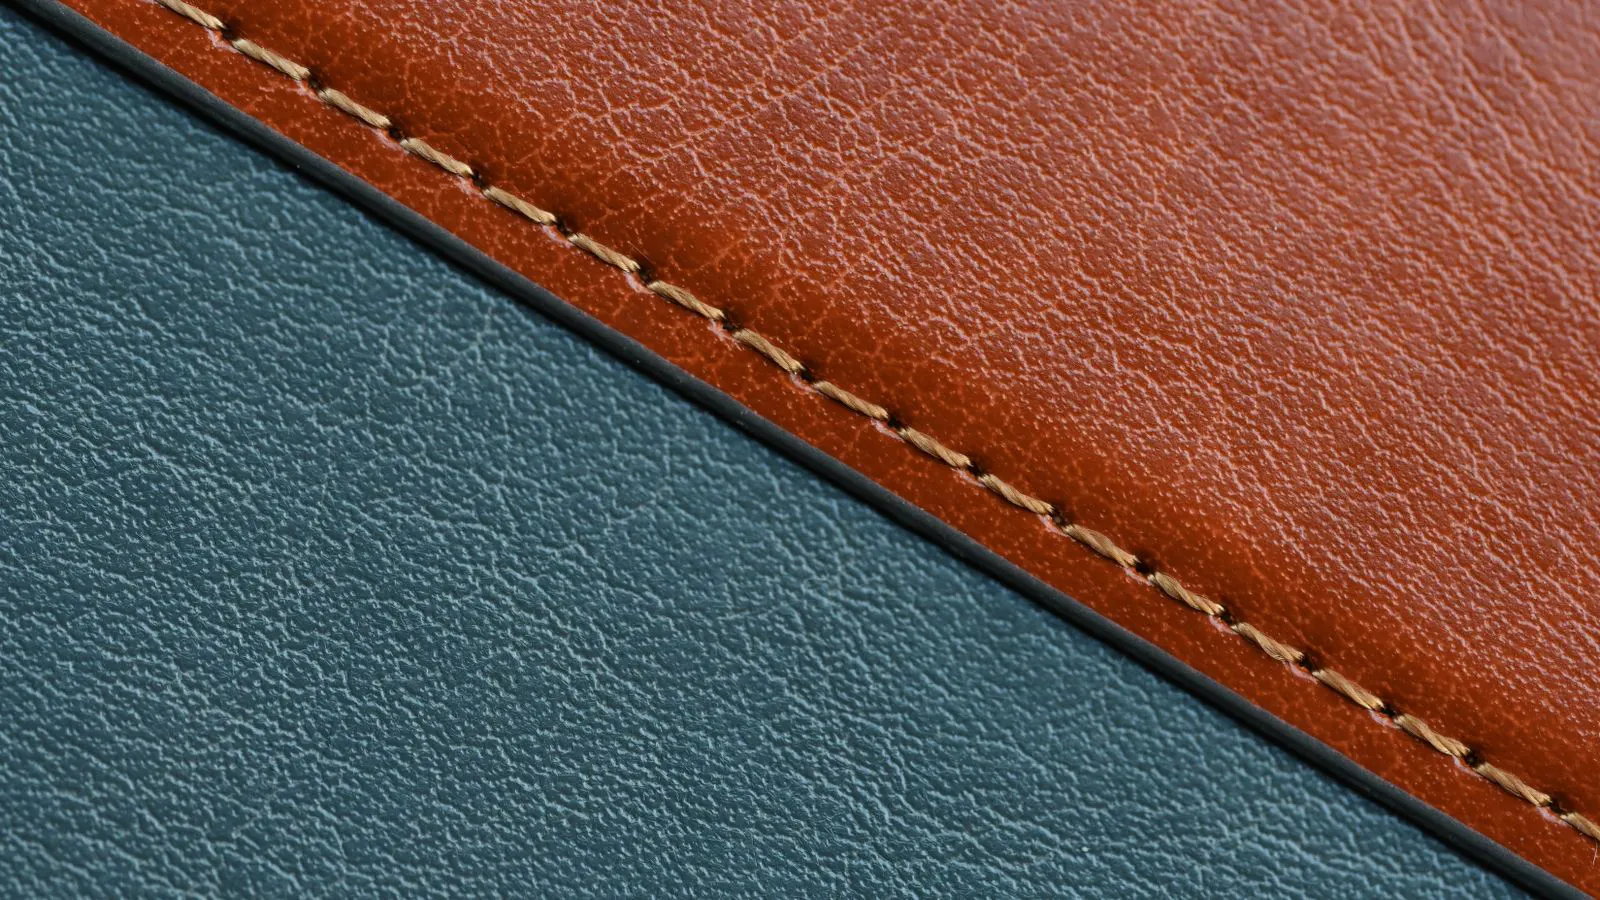
Inspect seams by checking alignment, thread tension, and thread tension. Use a bag quality control checklist to identify loose threads, skipped stitches, and uneven bar tacks. Visual and tactile checks prevent structural failure in final QA.
- Check thread alignment, tension, and bar tack placement on every seam.
- Inspect for skipped stitches, loose threads, and puckering.
- Use tactile checks to verify stitch density and thread consistency.
- Document defects with photos and measurements for traceability.
What to Check First in a Bag Quality Control Inspection
Start with the visible surface before touching the material. Lay the bag flat on a neutral, well-lit table. Inspect each seam under direct light, then at a slight angle. Angle changes reveal puckering, raised threads, and uneven stitching that a straight-on view hides.
The first pass is visual. Look for alignment, thread color consistency, and stitch spacing. The second pass is tactile. Run a fingertip along the seam. You feel for ridge height, thread stiffness, and skipped stitches that the eye may miss.
This two-pass method covers most common defects. A bag can pass a casual glance and still fail under load if a seam is loose or a bar tack is weak. The goal of this initial inspection is not to measure every dimension immediately. It is to identify obvious failures quickly and decide whether the bag proceeds to detailed measurement or goes to the reject pile. Inspectors who rush this stage often miss subtle thread tension issues that only become visible when the material is manipulated.
When handling the bag, avoid placing heavy objects on top of it during the initial visual check. Weight can collapse the structure and hide the true shape of the seams. Instead, use your hands to lift the bag by the handles or the main body. This allows the fabric to hang naturally. If the bag is a structured tote, check the corners where the panels meet. These points often show early signs of tension imbalance. If the bag is a soft duffel, check the gusset where the bottom panel meets the side panels. Uneven tension here causes the bag to lean or twist when filled.
Seam Alignment and Stitch Consistency
Check that the seam line stays parallel to the edge. Measure the distance from the edge to the stitch line on at least three points. The distance should be consistent. A variation of even one millimeter can indicate a machine setting change or a feed problem.
Look at the thread tension. Top thread and bottom thread should lock evenly in the fabric. If the top thread sits visibly on the surface, the tension is too loose. If the bottom thread pulls through to the top side, the tension is too tight. Both conditions weaken the seam.
Thread color must match the fabric or the intended design. A single mismatched thread is a defect. It signals a thread change that was not caught. Check the same color across all seams on the same bag.
| Inspection Point | What to Look For | Red Flag |
|---|---|---|
| Edge distance | Uniform spacing from seam to edge | Variation over two millimeters |
| Stitch spacing | Even, consistent stitch length | Gaps or clustered stitches |
| Thread tension | Balanced top and bottom thread | Visible loops or pulled threads |
| Thread color | Uniform hue across the seam | Single mismatched stitch |
| Seam direction | Parallel to the edge | Drift or crooked line |
Measuring edge distance requires a simple ruler or a caliper. Do not estimate by eye. Place the ruler perpendicular to the seam line. Record the measurement in millimeters. If the spec calls for five millimeters from the edge, a reading of six millimeters at one point and four millimeters at another indicates a feed slip. This often happens when the fabric shifts during the stitching process.
Stitch spacing is determined by the machine setting. A standard stitch length for general bag construction is often between three and five millimeters. However, this varies by material thickness. Heavier fabrics like canvas or leather require longer stitches to prevent needle breakage and ensure the thread penetrates fully. Lighter materials like polyester or nylon may require shorter stitches to hold the fabric together without causing puckering. Check the spec sheet for the required stitch length. If the spec is silent, compare the stitching to the previous batch or a known good sample.
Thread tension is a balance act. The top thread comes from the needle bar. The bottom thread comes from the bobbin. They meet inside the fabric and lock. If the tension is off, the thread will not lock properly. You may see a loop of top thread on the underside or a loop of bottom thread on the top. This is a red flag. It means the thread will unravel under stress. Check the tension by pulling gently on the thread ends. If the threads slide through the fabric easily without resistance, the tension is too loose. If they snap or cause the fabric to pucker, the tension is too tight.
Thread color matching is often overlooked. Inspectors may focus on the fabric color and ignore the thread. However, thread color is part of the design. A dark thread on a light fabric is a visible defect. A light thread on a dark fabric can be acceptable if it is a design choice, but it must be consistent. Check the thread spool used for the batch. If the supplier uses multiple spools, ensure they are from the same dye lot. A slight hue difference between spools can create a patchwork effect on the seam.
Tactile Checks for Stitch Density and Thread Integrity
Run your fingertip along the seam. The surface should feel smooth. A rough spot may mean a skipped stitch or a thick thread knot. Press lightly with your thumb. The fabric should not pucker or shift.
Check the bar tacks. These are the short, reinforced stitch groups at stress points. They should be dense and flat. A bar tack that feels uneven or loose will pull apart under weight. Count the stitches in a bar tack if the spec requires a minimum. A short bar tack is a structural risk.
Turn the bag inside out. Inspect the interior seam. The underside should show the same quality as the top side. A poor underside often hides a weak stitch. Check for stray thread ends. Pull one gently. If a thread comes out, the knot is weak.
Tactile inspection is where you find what the eye misses. The surface of the seam should feel flat and even. If you feel a ridge, the thread may be too thick or the tension too tight. If you feel a depression, the thread may be too loose or the fabric may be thin. Press the seam with your thumb. The fabric should resist compression. If it compresses easily, the thread is not holding the layers together.
Bar tacks are critical. They are used at handle attachments, pocket corners, and strap loops. These points bear the most stress. A bar tack should be a solid block of thread. It should not have gaps or holes. If you run your finger over it, it should feel solid. If it feels hollow or bouncy, the thread is not packed tightly. Count the stitches if the spec requires it. For example, a spec might require ten stitches in a bar tack. If you count only eight, it is a defect. Even if it looks full, the reduced stitch count means less thread holding the material.
The interior inspection is often skipped because the bag is not visible to the customer. This is a mistake. The interior seam is the same seam as the exterior, just viewed from the back. If the exterior is good, the interior should be good. If the exterior is bad, the interior will likely be bad too. Check for stray thread ends. These are small pieces of thread that stick out from the seam. They look messy and can catch on other materials. Pull one gently. If it comes out easily, the knot is weak. If it stays, it may be acceptable, but it is still a visual defect that should be trimmed.
Visual Defects to Flag in Final QA
A visual defect is any mark, stain, or mark on the fabric that does not meet the spec. Common defects include:
- Skipped stitches. The needle does not penetrate the fabric. The seam has a gap.
- Thread breakage. A missing thread segment. The stitch stops and restarts.
- Puckering. The fabric gathers around the seam. The tension is too high.
- Uneven bar tack. The reinforced stitch group is short, loose, or crooked.
- Fabric contamination. Oil, ink, or dust on the material.
- Stitching in the wrong place. The seam crosses a seam line or a printed area.
Photograph each defect. Include a scale reference. A coin or ruler helps. Note the location. Use a simple code such as front seam, left corner, or handle base. This makes the record clear for the supplier and your team.
Skipped stitches are common in multi-layer fabrics. The needle may not penetrate the top layer fully, leaving a gap. This weakens the seam. Thread breakage happens when the thread snaps during stitching. The machine may restart, leaving a short segment of thread. This creates a weak point. Puckering occurs when the thread pulls the fabric layers together too tightly. The fabric gathers around the seam. This looks bad and can cause the fabric to tear at the edges.
Fabric contamination is often missed. Oil spots, ink marks, or dust particles can be present on the fabric before or during stitching. These defects may not be visible until the bag is inspected under direct light. Stitching in the wrong place is a layout error. The seam may cross a printed logo or a decorative pattern. This is a design defect, not a construction defect, but it is still a reason to reject the bag.
Photography is essential for documentation. A photo provides evidence. It shows the defect clearly. Include a scale reference. A coin or ruler helps the viewer understand the size of the defect. Note the location. Use a simple code. For example, “front seam” or “left corner.” This makes it easy for the supplier to find the defect. If you do not use a code, the supplier may have to guess where the defect is. This leads to confusion and delays.
How to Record and Report Defects
Keep a simple log. Do not rely on memory. Write down the date, batch number, and inspector name. Record the defect type and location. Add a photo. A photo is worth more than a description. It removes ambiguity.
Use a standard form. A digital form is easier than paper. It allows quick photo upload and batch tracking. If you use paper, scan the forms. Store them with the batch record.
When reporting to a supplier, be specific. Do not say “the stitching is bad.” Say “the bar tack on the left handle base is two millimeters short of spec.” A specific statement leads to a specific fix. A vague statement leads to a vague response.
Recording defects is about creating a clear record. The log should include the date, batch number, and inspector name. This allows you to trace the defect to a specific batch and a specific person. It also allows you to track the frequency of the defect. If the same defect appears in multiple batches, there is a process problem.
A standard form ensures that all inspectors record defects in the same way. It reduces ambiguity. A digital form is easier to manage. It allows you to upload photos directly. It also allows you to track batches and defects in a database. If you use paper, scan the forms. Store them with the batch record. This ensures that the record is complete and accessible.
When reporting to a supplier, be specific. Vague statements lead to vague responses. If you say “the stitching is bad,” the supplier may not know what to fix. If you say “the bar tack on the left handle base is two millimeters short of spec,” the supplier knows exactly what to look for. This leads to a specific fix. It also shows that you are not making things up. You are using the spec.
Common Mistakes in Seam Inspection
Inspectors often make the same errors. These are worth knowing.
- Inspecting only in bright light. Shadows hide defects. Use a lamp at an angle.
- Checking only the front. The back and interior are equally important.
- Ignoring small defects. A single loose thread is a defect. It signals a process problem.
- Not using a scale. A small variation may matter. Measure it.
- Skipping tactile checks. The eye misses what the finger feels.
A good inspector is thorough but not obsessive. Focus on defects that affect function or appearance. A tiny pinhole far from a stress point may be acceptable. A loose stitch on a load-bearing seam is not.
Inspectors often make the same errors. These mistakes are not due to incompetence. They are due to habit and time pressure. Inspecting only in bright light is a common mistake. Bright light reveals surface defects, but it hides depth. Shadows can hide skipped stitches or thread breaks. Use a lamp at an angle. This creates shadows that reveal the texture of the seam.
Checking only the front is another common mistake. The front is the most visible part of the bag. Inspectors may assume that the back is the same. This is often not true. The back may have different tension or alignment. The interior is also important. It is not visible to the customer, but it is part of the bag. If the interior is bad, the bag is bad.
Ignoring small defects is a risk. A single loose thread may seem minor. However, it signals a process problem. It may mean that the thread tension is off. It may mean that the needle is dull. It may mean that the fabric is shifting. If you ignore small defects, they may grow into large defects.
Not using a scale is a common mistake. Inspectors may estimate distances by eye. This leads to inconsistency. Use a ruler or a caliper. Measure the distance from the edge to the stitch line. This ensures that the measurement is accurate and consistent.
Skipping tactile checks is a mistake. The eye misses what the finger feels. The finger can detect roughness, ridge height, and thread stiffness. The eye cannot. Run your fingertip along the seam. This is a simple but effective check.
When to Reject a Bag
Reject a bag if a defect affects structure, safety, or the main visual surface. A loose bar tack on a handle is a reject. A skipped stitch on a main seam is a reject. A small scratch on a hidden interior panel may be acceptable.
The decision depends on the spec. The spec defines what is acceptable. If the spec is silent, use judgment. When in doubt, reject. A rejected bag costs less than a returned bag.
Keep the rejected bag. Do not discard it. It is evidence. If a batch fails, the supplier may need to see the defect. The bag helps them understand the problem.
Rejecting a bag is a decision. It should be based on the spec. The spec defines what is acceptable. If the spec is silent, use judgment. When in doubt, reject. A rejected bag costs less than a returned bag. A returned bag costs money in shipping, labor, and customer satisfaction. A rejected bag stays in your warehouse. It is not shipped to the customer.
Keep the rejected bag. It is evidence. If a batch fails, the supplier may need to see the defect. The bag helps them understand the problem. It also helps you understand the problem. If you discard the bag, you lose the evidence. You may not be able to explain the defect to the supplier.
Quick Reference Checklist
Use this list for every bag. It is short enough for daily use. It covers the main risks.
- Check seam alignment on all visible seams.
- Measure edge distance at three points.
- Inspect thread tension and thread color.
- Run a fingertip along each seam.
- Check bar tacks for density and flatness.
- Turn the bag inside out. Inspect the interior.
- Look for skipped stitches and thread breaks.
- Check for puckering and fabric contamination.
- Photograph defects with a scale reference.
- Record the batch number and inspector name.
- Make a reject decision based on the spec.
This checklist takes a few minutes per bag. It catches the defects that matter. It gives your team a consistent standard. It reduces the risk of a bag failing in the field.
Frequently asked questions
How do I check if a seam is strong enough?
Run your fingertip along the seam. It should feel smooth and even. Press lightly. The fabric should not shift or pucker. Check the bar tacks. They should be dense and flat.
What is a skipped stitch?
A skipped stitch is a gap where the needle did not penetrate the fabric. The stitch line has a break. It weakens the seam.
Should I check the inside of the bag?
Yes. The interior seam is often the same quality as the top side. A poor underside hides a weak stitch. Check for stray threads and uneven tension.
How many points should I measure for seam alignment?
Measure at least three points. Use a ruler or a gauge. A variation of two millimeters or more is a defect.
Do I need a photo for every defect?
Yes. A photo removes ambiguity. It shows the defect clearly. Include a scale reference. A coin or ruler helps.